3 ingredient no-churn Biscoff icecream

The easiest 3 ingredient ice cream ever for Father’s Day – because even though my dad isn’t the biggest dessert fan, turns out he loooooves Biscoff!

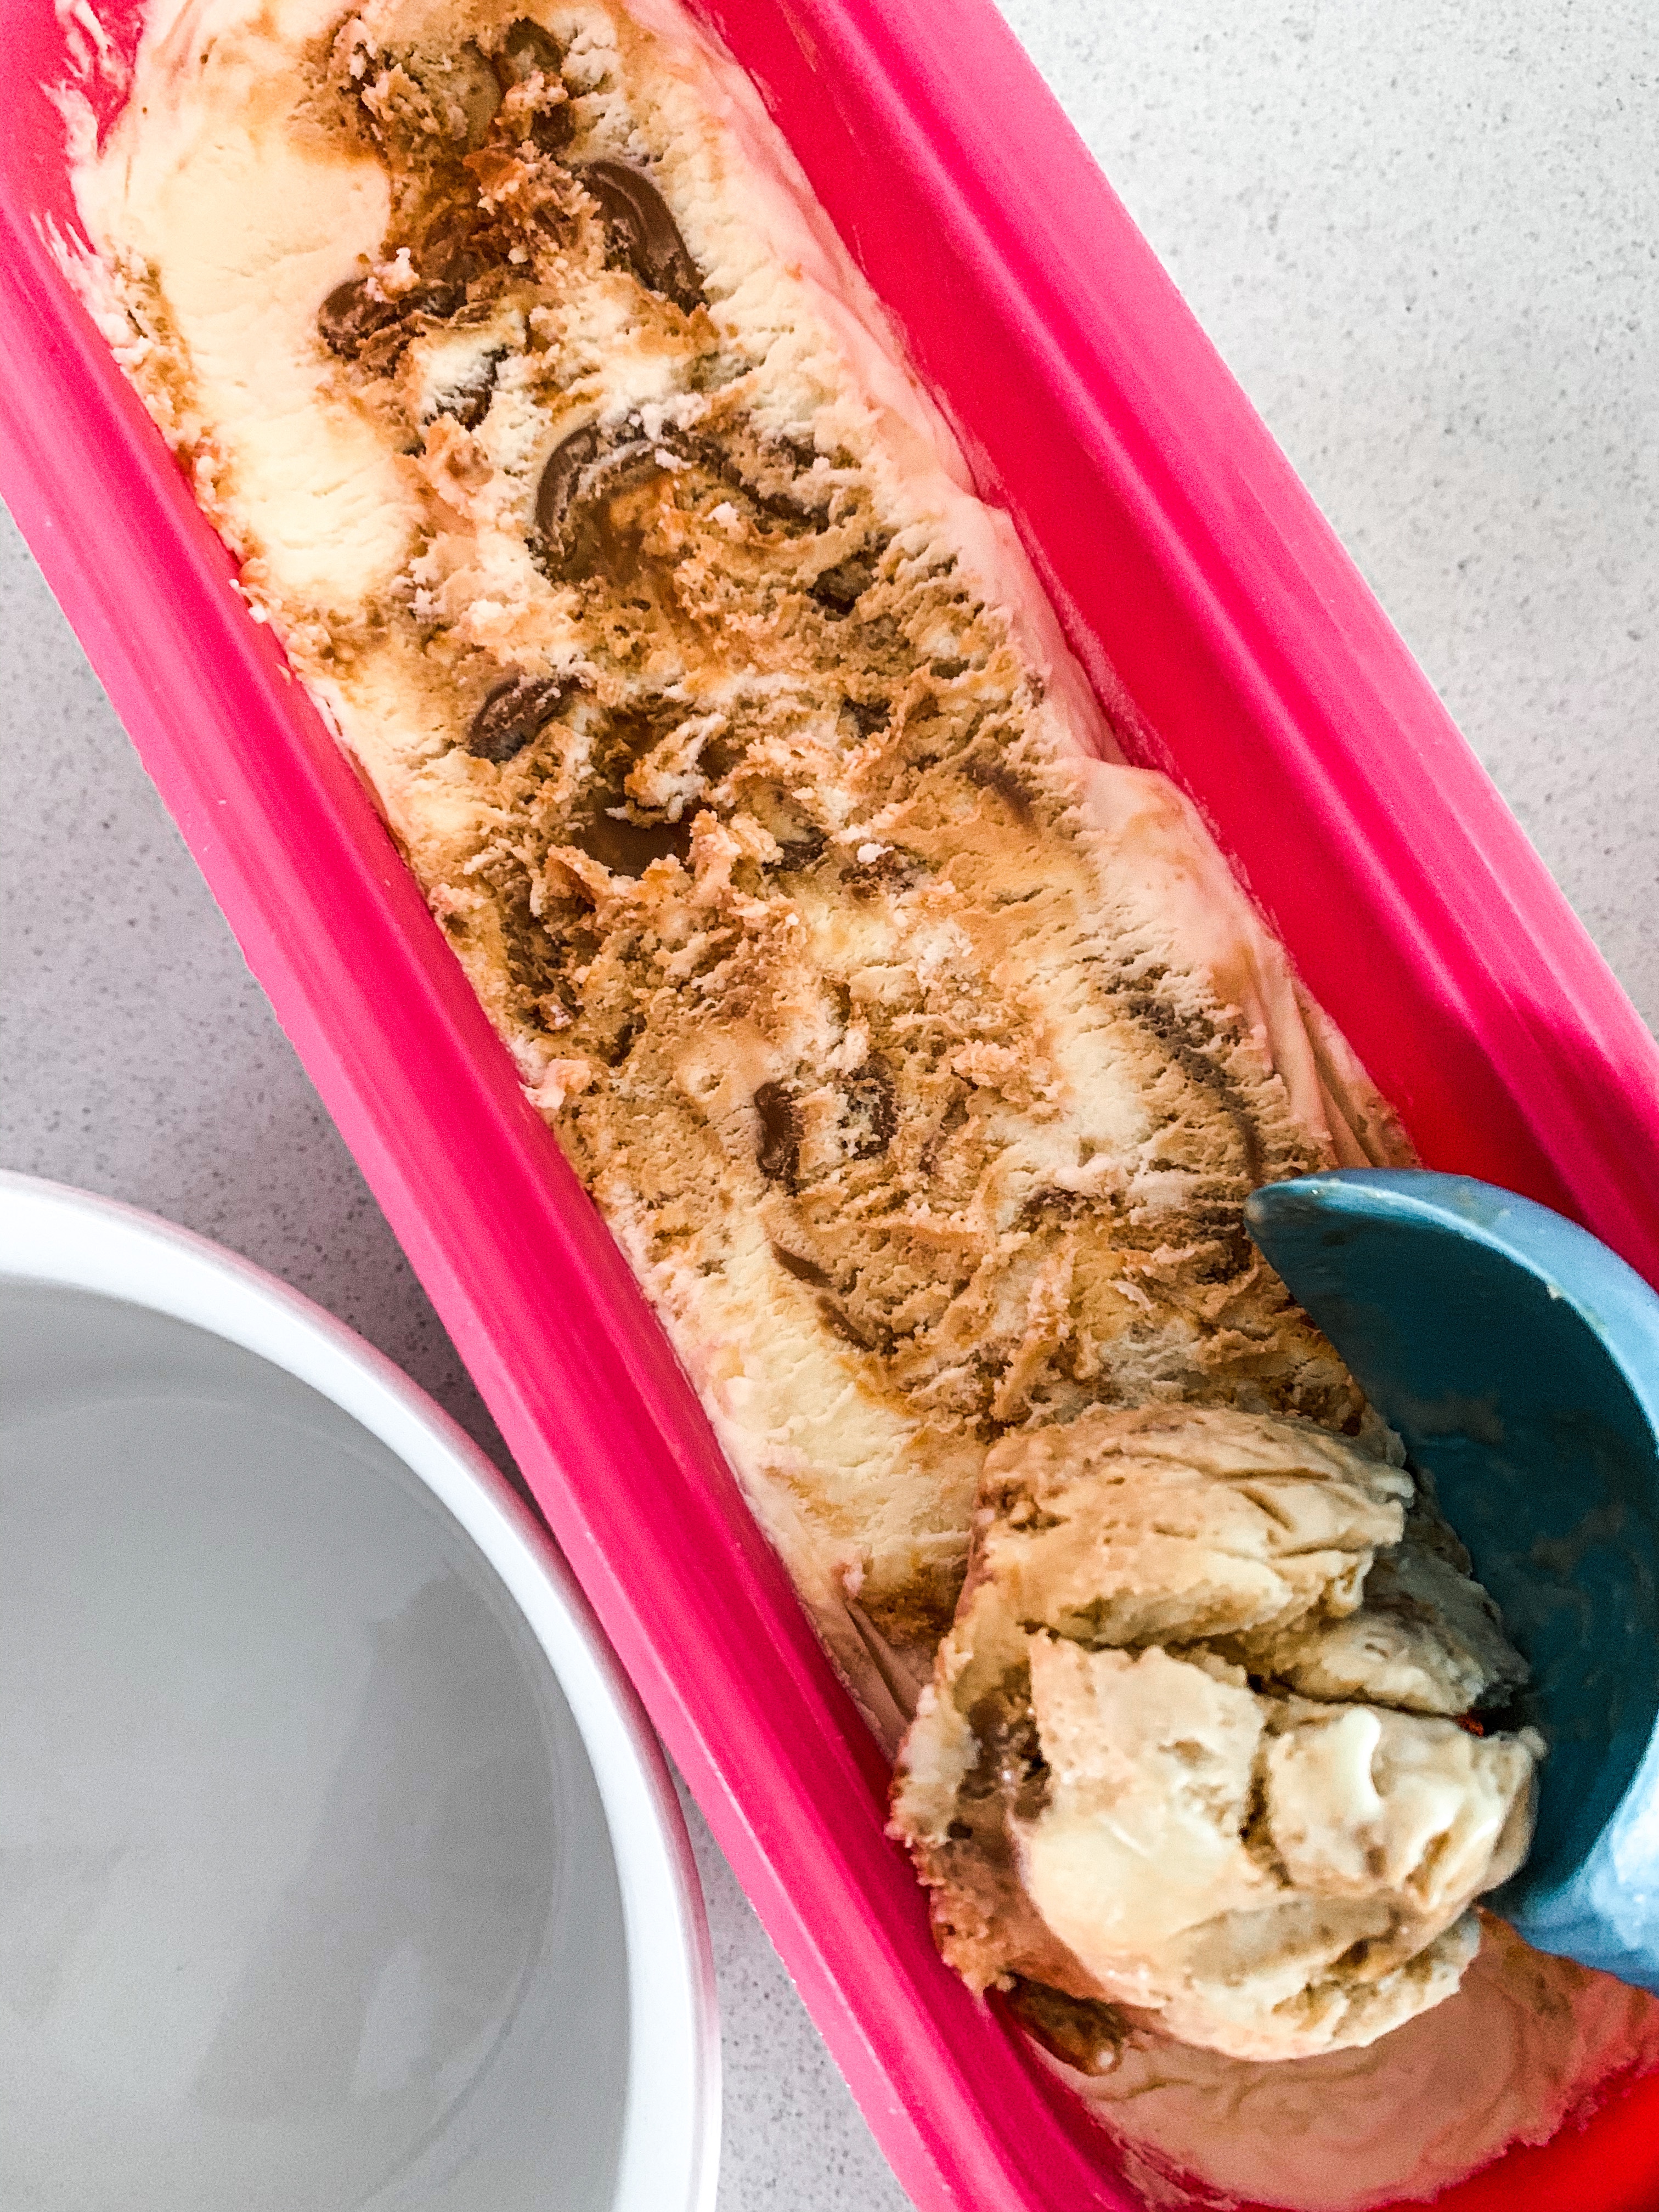
Whip 600ml of thickened cream, then add a 395g can of sweetened condensed milk and stir until well combined. Layer with Biscoff spread and freeze until firm.

No churn, no icy bits – just creamy, biscuity, damn good ice cream!

PB and J biscuits

I saw the divine Reece Hignell and Jess Lemon (from Australia’s Masterchef ‘Back to Win’) share an epic 3 ingredient peanut butter biscuit recipe on Instagram.

So I thought, “let’s make it PB&J – but healthy?”

The original recipe is just 1 cup of sugar, 1 cup of peanut butter and 1 egg, mixed together into balls and flattened with a fork, baked at 170*C for 12 minutes.

I changed mine up a little and used:

  • Baked at 170*C for about 15 minutes, then drizzled with Noshu low sugar white chocolate chips and served with a dollop of Natvia low sugar raspberry spread – bliss!
  • Hazelnut Cherry Cheesecake

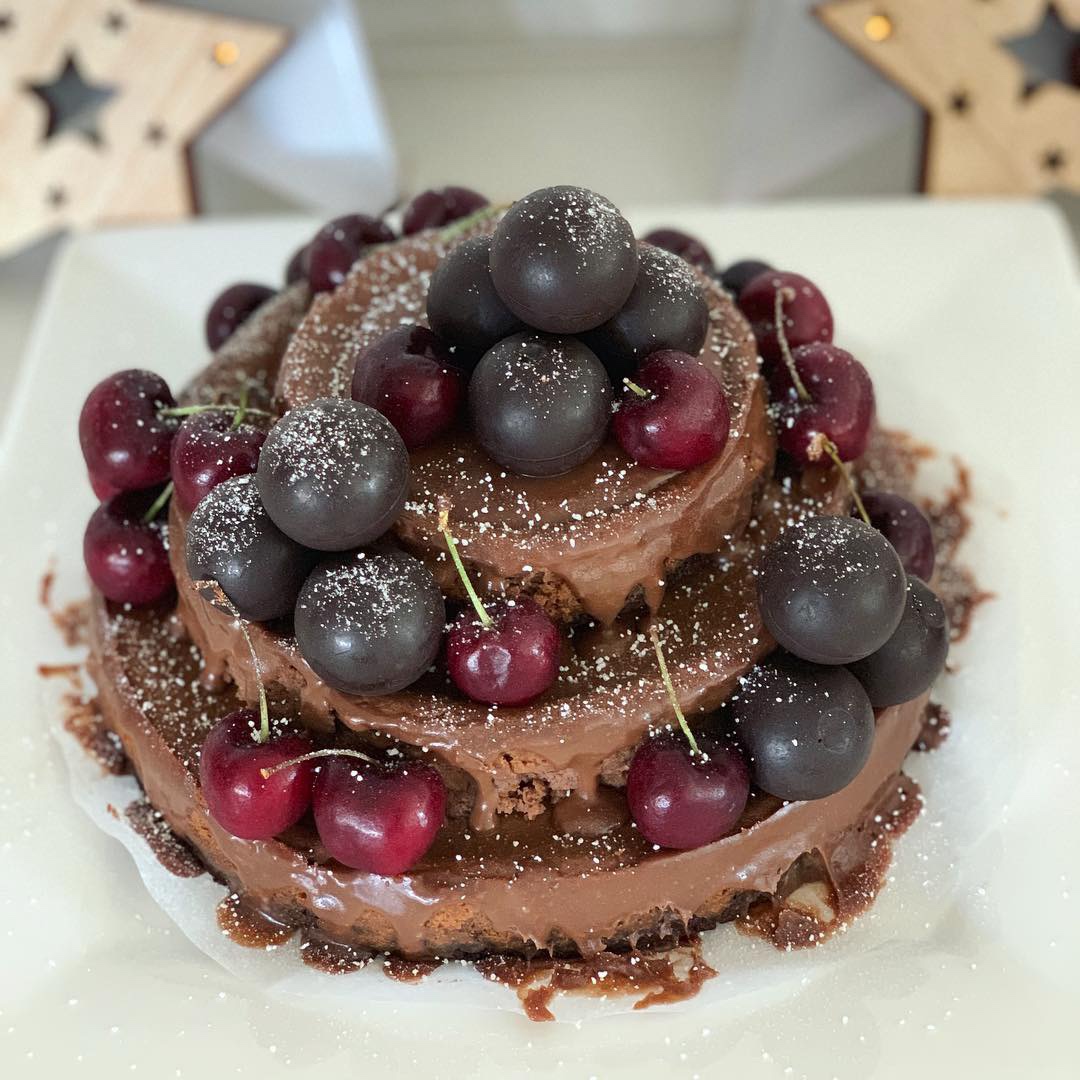
    This is not healthy in the slightest really BUT it is deceptively easy to make! To ease up on the calories (because every little bit counts), I use fat-reduced cream cheese and ricotta, and I don’t add any more sugar. It does produce a slightly more tart cheesecake though, so if you’re after something sweet, add 1/2 cup of caster sugar to the filling.

    Ingredients 

    • 250g block of cream cheese
    • 125g smooth ricotta
    • 2 eggs
    • 1 tbsp flour (can use gluten free plain flour if required)
    • 1/2 cup hazelnut spread
    • 200g chocolate biscuits (I used chocolate ripple, but substitute for whatever suits your diet)
    • 70g butter, melted
    • To decorate – cherries, chocolate lindt balls (+/- 200g chocolate with 2 tbsp cream for ganache).

    Method 

    1. Preheat the oven to 180*C. To create the layered look, I used three different sized cake tins but in reality, a single 24cm springform tin will suffice! Line the base and sides of the tins with baking paper.
    2. Crush the biscuits until fine crumbs, and mix with the butter until starting to form clumps. Spread onto the base of the lined tin/s and bake until starting to firm (about 10 minutes).
    3. Use an electric mixer to beat the cream cheese, ricotta, eggs, hazelnut spread and flour until well combined. Pour into the lined cake tins and bake until firm (about 20 minutes but keep and eye on them!). Return to the fridge to cool as the mixture will reduce down and become much more firm.
    4. If using ganache as part of the decoration, melt the 200g chocolate and cream in a pot over a saucepan of boiling water until melted. Allow to cool slightly. Once the cake is firm, assemble the layers with toothpicks if you’ve used different tins. Then pipe or drizzle the ganache around the edges, then decorate with cherries and lindt balls (again, use tooth picks to hold them on!).

    S’mores Brownies

    Life is all about balance. And sometimes, that involves eating brownies that make your soul incredibly happy, even if your pancreas isn’t. After a little trial and error, I’ve discovered the perfect way to make your usual brownies taste just like s’mores – and wow do these little s’moresels (hehe) pack a punch!

    Ingredients (makes 12-24 depending on how you cut them, I prefer mine smaller as these are pretty rich!)

    • 1/2 cup mini marshmallows
    • 1 packet McVittie’s digestive nibbles (or similar, but essentially you need small balls of digestive biscuits that are entirely covered in chocolate – normal digestive biscuits will just go soggy in the mix!)
    • Your usual favourite brownie recipe (or packet mix, there is no shame in using a packet mix!)

    Method

    1. Preheat the oven as per your usual recipe or packet mix instructions. Line a brownie tray with baking paper.
    2. Prepare your usual brownie recipe or as per the packet mix instructions.
    3. Just before baking, mix in the marshmallows and the digestive nibbles, stir well to combine.
    4. Pour into the tray and bake until just cooked through. Allow to set and cool in the fridge before cutting as the marshmallow will be incredibly sticky while hot!!

    Banana Coconut Flan with Miso Caramel

    This cake is a healthier take on the divine Impossible Pie developed by Donna Hay, a truly wonderful flan with a custard slash cake style consistency that’s made by throwing the ingredients in the blender, then dumping them in a flan tin and baking. So simple!

    While my version is still not ‘perfectly healthy’ by dietitian standards, it does have the added benefits of less refined sugar than the original recipe, and of being dairy free for those who are lactose intolerant. It can also be made gluten free by omitting the miso paste, or by using a miso based on rice, quinoa or amaranth. I could potentially make it vegan if someone can figure out an appropriate substitute for the egg!

    Ingredients 

    • 2 large overripe bananas
    • 3/4 cup shredded coconut
    • 50g coconut oil
    • 1/4 cup rice malt syrup
    • 1 & 1/2 cups coconut milk
    • 1 & 1/2 tbsp white miso paste
    • 1 tbsp lemon juice
    • 1/3 cup coconut flour
    • 1 egg
    • 2 tbsp maple syrup

    Method 

    1. Preheat the oven to 160*C. Grease / line a flan tin.
    2. Chop 1 of the bananas and place in the freezer to firm. Place the rest of the ingredients in a blender and blend until smooth.
    3. Pour the mixture into the flan tin, top with the frozen banana pieces and bake until set (about 40-45 minutes). Drizzle with maple syrup and serve with coconut yogurt.